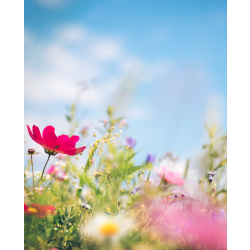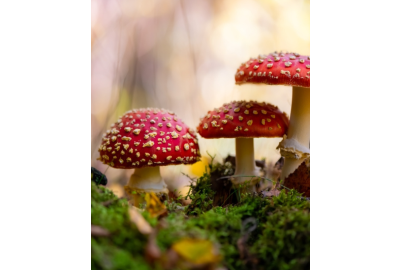

The fungal world is richly diverse, and it is in the autumn that most of our weird and wonderful mushrooms are in full ‘bloom’.
Sometimes it can be hard to identify mushroom species and one of the ways this is done by fungi experts, is via spore prints. Read on to find out more...
Making Fungal Spore Prints
The spores are the reproductive cells of the mushroom and are released when the mushroom has fully matured (for most mushrooms this is autumn in the UK), these then fall to the ground and germinate into new mushrooms the following year. Spore colour when seen en-masse is a good way of determining the family and sometimes the species to which the particular fungus belongs.
Although we would not encourage foraging for wild mushrooms for this activity (as there are many species of fungi that are deadly poisonous) you can now obtain a range of different fungi from your local supermarket which will make good spore prints. This activity can be used in the wider context of species identification, along with how to use identification keys etc. It can also enhance any forest school activities that you might be able to do.

How to take a spore print
Equipment
- Mushroom of choice: field (flat) mushrooms, button, shit’ake, chestnut, all are readily available from supermarkets
- Sharp knife
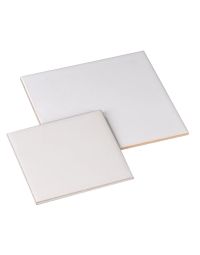
- White tile
- White paper (or black paper if you know you will get white spores)
- Beaker
- Damp paper towel
- Artists clear spray fixative (optional)
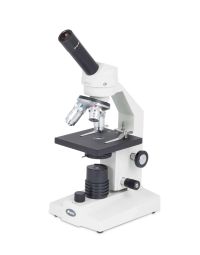
If you want to examine the spores under a microscope you will also need:
- Microscope slides, cover slips
- Fine forceps
- Microscope

Method:
- Prepare the mushroom by removing the stalk (stipe) as close to the base as possible – this will allow maximum contact between the gills and the paper.
- Place the mushroom cap face down so that the gills are in contact with the paper.
- Place some damp paper towel on the top of the mushroom cap to prevent it drying out.
- Cover the whole arrangement with an upturned beaker and leave for a few hours/overnight (the beaker and damp paper towel will create a humid environment to stop the cap drying out).
- When you are ready carefully remove the beaker, towel, and mushroom cap from the paper.
- You should have a nice ‘print’ left on the paper, made up of mushroom spores.
- If you want to keep the prints you can spray the paper with an artist varnish/fixative.
Alternative method for microscope work:
- Prepare the mushroom as before but allow a piece of the gills (underside of the cap) to come into close contact with a microscope slide.
- Leave for a few hours/overnight (as before).
- When ready, remove the piece of mushroom cap and carefully place a coverslip over the ‘print’.
- View under the microscope, initially on low power to locate the spore print, then increasing the magnification as required.


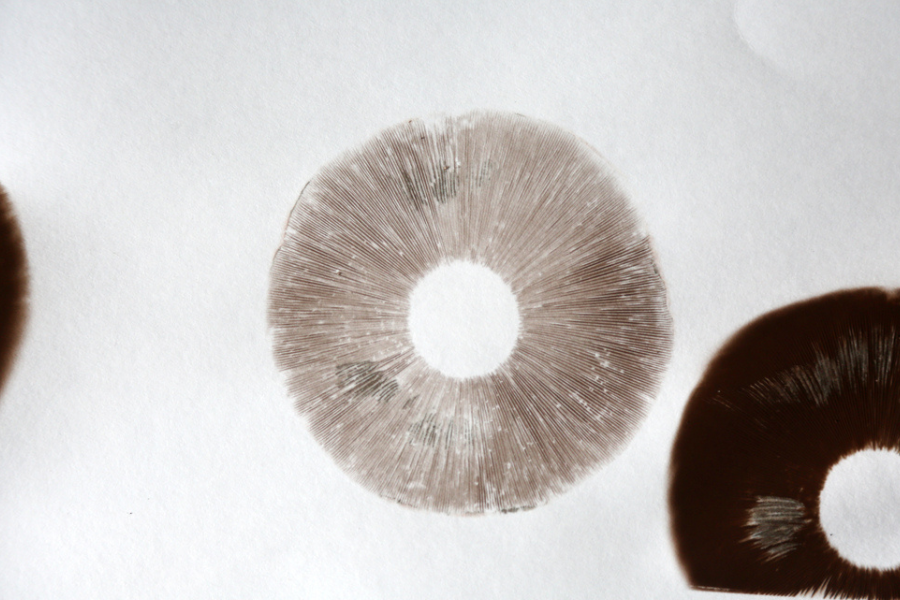
Examples of spore prints:


Images from microscope spore prints: